How to make a blog on Blogger for free?

Blogger is a free Google platform to create a blog for free. You do not require coding knowledge to create a blog. Blogger has a very nice UI for beginners to add features to your blog. Here is the complete step-by-step guide to starting a new professional blog at Blogger.
Step 1:
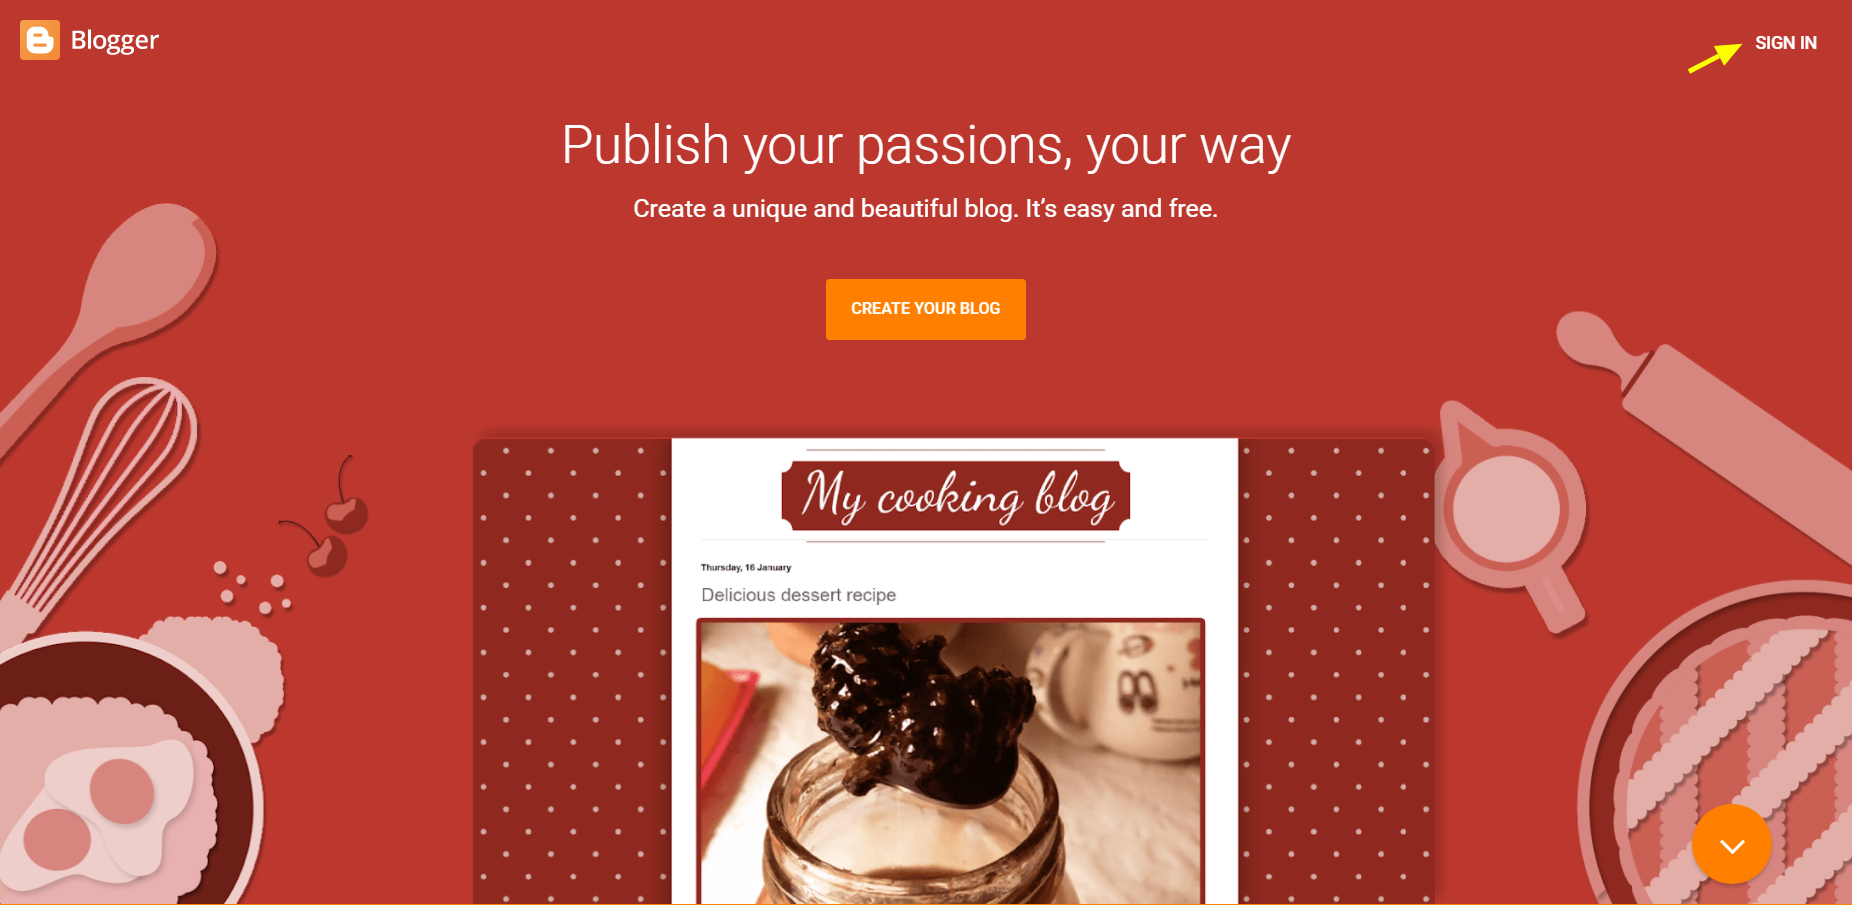
Go to blogger.com and create an account by clicking on SIGN IN. You must have a Google account in order to create a blogger account.

Step 2:
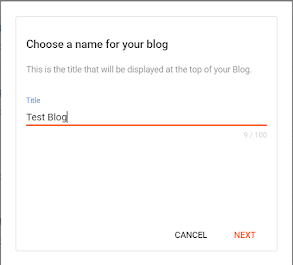
Choose a title for your blog. The title must identify your blog or what your blog is all about.

Step 3:
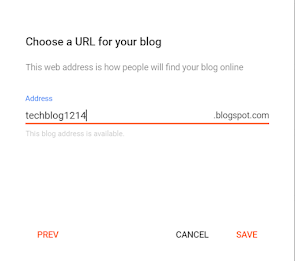
Now choose a unique domain name for your site and click on the save button to move forward.

Step 4:
Now you successfully created your blog. It is time to write posts for your blog. Click on the New Post button to write a post.

Blogger allows you to write posts on Compose view as well as in HTML view. . We will go with compose view because it is easy and require no coding knowledge. Write at least 10 posts because it is a new blog and may not appear on google search instantly. I recommend you to write 2 to 3 posts daily.
Step 5: Choose a theme
How does your site look matter a lot when it comes to user experience? Choose a nice and minimal theme for your site. Click on the Theme button on the sidebar and the theme whatever you want. Blogger does not provide a beautiful theme and you may not like the theme. You can either free or premium Blogger themes from the marketplaces where you can buy high-quality Blogger themes at a reasonable price.
Step 6: View your blog
Click on the View Blog link to see how your blog looks and feels.
Step 7: Add Google Analytics to your site.
Create an account on your Google Analytics account and add your blog to your Google Analytics account so that you can measure and trace the traffic on your site. Adding GA is very simple. Go to Google Analytics and create a new account. Fill out all the fields completely.
After creating a Google Analytics account go to the Admin tab at the bottom and click on it, then go to Property Settings and then copy the Tracking Id (UA-XXXXXXX-X).
Step 8: Add Google Analytics Tracking ID to your blog
Now it's time to add the tracking id that you have just copied to your blog. Go to your Blogger dashboard and click on ⚙Settings, then move to Google Analytics Property ID and click on it, then insert the tracking id. Now Boom! You successfully added a Google Analytics account to your blog. Now you can monitor the traffic on your site.
Step 8: Add your site to Google Search Console
Google search console is a service by Google that allows us to index our site and to the database of Google so that Google shows our site in search. It is very crucial to do otherwise your site will not appear on Google search, and you will not rank. Even though your content is good and valuable.
Summary
Blogger is a free service provided by Google to create blogs instantly without having coding or programming knowledge. To rank your blog at Google you must link your site to Google Search Console so that Google index your site to its search database and show your site in search. To monitor your traffic on your blog, your can either use Blogger Stats but Google Analytics provides you much more data regarding your audience.

